thejf/antennas
📡HDHomeRun emulator for Plex DVR to connect to Tvheadend.
5M+
thejf/antennas repository overview

A JavaScript port of tvhProxy which is a program that translates the Tvheadend API to emulate a HDHomeRun API. This is particularly useful to connect Plex's DVR feature to Tvheadend.
Getting it running
Tvheadend Configuration
To be able to stream from Tvheadend through Plex, you need to set up an anonymous user in Tvheadend that has streaming rights. You can do this in the users section, by creating a user *:

Using binaries
Head over to the release section and download the binary for your platform. It will come with a config/config.yml that you can edit to reflect your setup, and you can simply run antennas in the console and the server will start up and start proxying Tvheadend over to Plex!
Run locally using Node
Right now, due to Docker networking issues, the best way to get this working is by running it directly through node.
- Set up Node locally
- Clone this repo:
git clone https://github.com/TheJF/antennas.gitor download the source code directly from releases and extract it - Run
yarn installornpm installto install dependencies - In the directory where it was extracted, run
node index.js(Note, Node version must be above 7)
To run it as a daemon:
node index.js >/dev/null 2>&1 &
Docker
Another way to get it running is to run it using Docker. Note that some functionality is currently not quite working when hosting this as a Docker container, namely, discovery from Plex. But with that warning, if you so choose to continue using Docker, the instructions are below.
To start a Docker container running Antennas, run the command below. Note you must replace the ANTENNAS_URL and TVHEADEND_URL value to match your setup:
docker run -p 5004:5004 -e ANTENNAS_URL=http://x.x.x.x:5004 -e TVHEADEND_URL=http://replace:[email protected]:9981 thejf/antennas
To view if the configurations have been passed correctly, you can point your browser to where you are hosting Antennas (in the above example, it would be http://x.x.x.x:5004 but this is a placeholder address that needs to be changed) and you should see a summary of your configurations on the page:
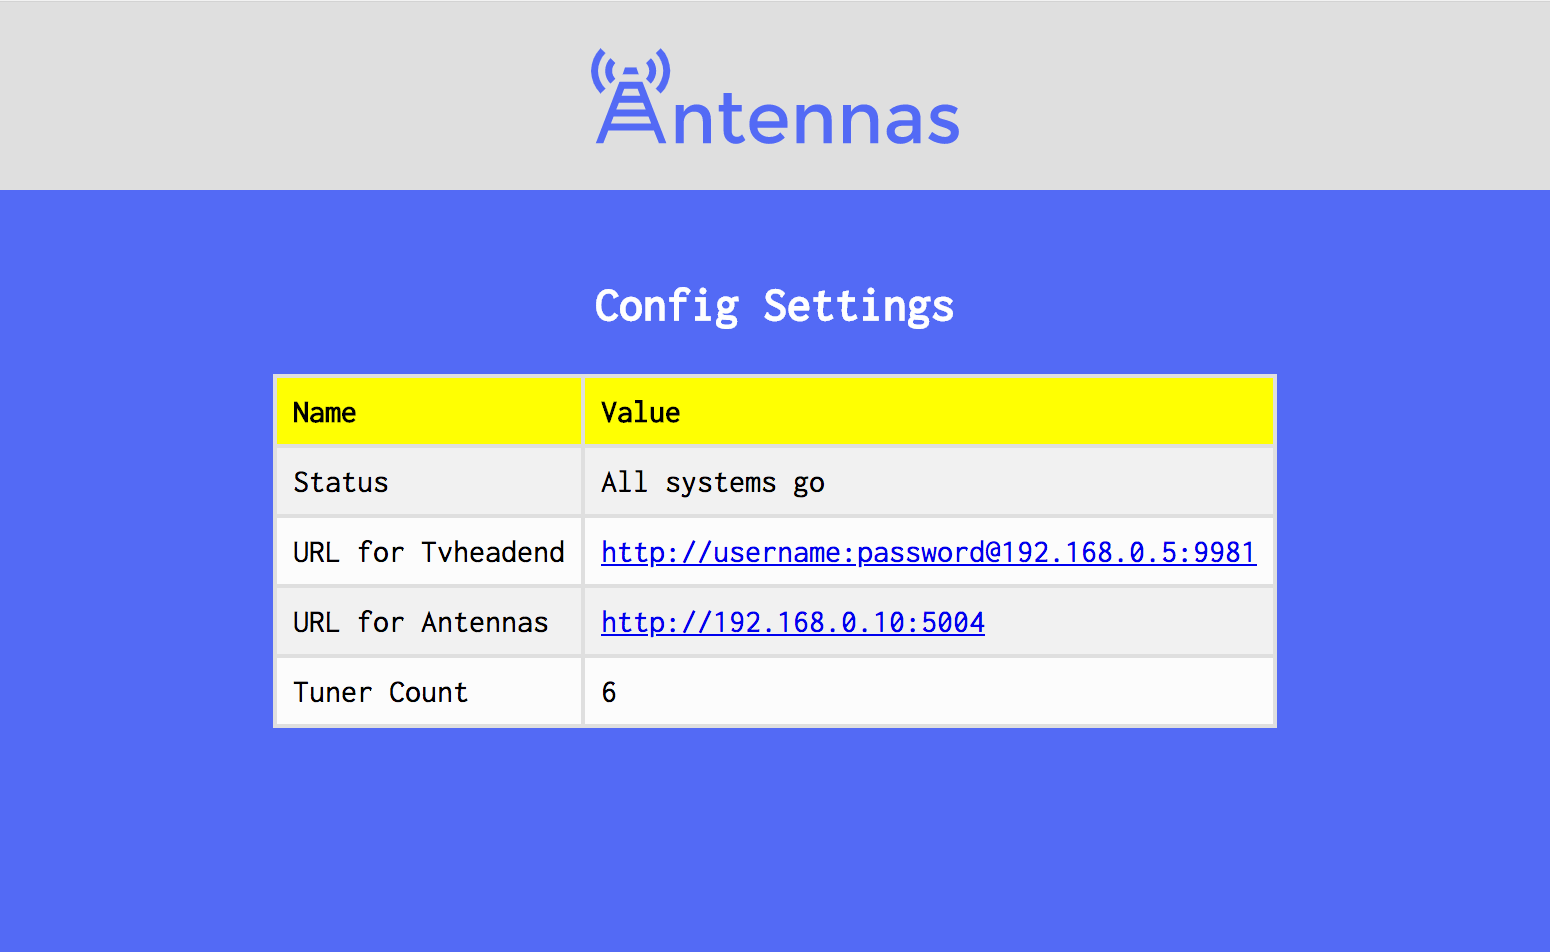
Alternatively, you can set it with all the available environment variables:
  docker create --name=antennas
    -e ANTENNAS_URL=http://x.x.x.x:5004
    -e TVHEADEND_URL=http://replace:[email protected]:9981
    -e TUNER_COUNT=6
    -p 5004:5004
    thejf/antennas
And then docker start antennas
Or, you can try by mounting a volume, set by yourself in path/to/config, that will need a config.yml to work. Example of a config.yml is available here, or below:
tvheadend_url: http://replace:[email protected]:9981
antennas_url: http://x.x.x.x:5004
tuner_count: 6
docker create --name=antennas -v <path/to/config>:/antennas/config -p 5004:5004 thejf/antennas- Set up
config.yml(see configuration instructions here) where you pointed the config volume (what you replaced<path/to/config>with - Finally,
docker start antennas
Configuration
Antennas can be configured either via the config.yml or environment variables. Environment variables take precedence over the config.yml.
config.yml
Antennas will look for three values inside a config/config.yml file. They are:
tvheadend_url: This is the path to your Tvheadend setup, with username, password, and port. Plex doesn't likelocalhostso it's best to find your own local IP and put this in if Tvheadend and Plex are running on the same network. For example:http://user:[email protected]:9981tuner_count: This is for the number of tuners in Tvheadend.
Environment variables
If you want to set environment variables instead of modifying the config.yml, you can do so. The environment variable names are the same than the config.yml, except capitalized. So, TVHEADEND_URL and TUNER_COUNT.
Contributing
- Fork it ( https://github.com/thejf/antennas/fork )
- Create your feature branch (git checkout -b my-new-feature)
- Commit your changes (git commit -am 'Add some feature')
- Push to the branch (git push origin my-new-feature)
- Create a new Pull Request
Tag summary
Content type
Image
Digest
Size
59.3 MB
Last updated
about 4 years ago
docker pull thejf/antennas