aircross/3x-ui
3x-ui xray panel MHSanaei/3x-ui v2.4.1+ xray-core v24.9.7,20240923
10K+
aircross/3x-ui repository overview
3X-UI
English | Español | Русский
一个更好的面板 • 基于Xray Core构建




Disclaimer: 此项目仅供个人学习交流,请不要用于非法目的,请不要在生产环境中使用。
如果此项目对你有用,请给一个:star2:
默认信息
访问端口:2053
用户名/密码:admin
X-UI
如果你需要使用X-UI,可以点击这里访问:aircross/x-ui

安装 & 升级
通过Docker安装
使用
- 安装Docker:
#国外服务器使用以下命令安装Docker
curl -fsSL https://get.docker.com | sh
# 设置开机自启
sudo systemctl enable docker.service
# 根据实际需要保留参数start|restart|stop
sudo service docker start|restart|stop
国内的请参照下面这个教程安装,需要配合能访问download.docker.com的服务器服用
-
docker compose安装,克隆仓库:
git clone https://github.com/aircross/3x-ui.git
cd 3x-ui
运行服务:
docker compose up -d
-
docker一键安装:
mkdir -p /opt/docker/3x-ui/
mkdir -p /opt/docker/acme.sh/
docker run -itd \
   -e XRAY_VMESS_AEAD_FORCED=false \
   -v /opt/docker/3x-ui/:/etc/x-ui/ \
   -v /opt/docker/acme.sh/:/root/cert/ \
   --network=host \
   --restart=unless-stopped \
   --name 3x-ui \
   aircross/3x-ui:latest
如果你需要安装ACME.SH用户管理SSL证书的Docker,可以执行一下命令
mkdir -p /opt/docker/acme.sh
docker run -itd -v /opt/docker/acme.sh:/acme.sh --net=host --restart=unless-stopped --name=acme.sh -v /var/run/docker.sock:/var/run/docker.sock neilpang/acme.sh daemon
docker exec \
    -e CF_Email=你的CF邮箱 \
    -e CF_Key=你的CF API Key  \
    acme.sh --issue -d demo.com  --dns dns_cf  \
    --server letsencrypt
#默认使用letsencrypt作废证书签发服务
x-ui的Docker执行命令添加下面这一行
    -v /opt/docker/acme.sh:/acme.sh/ \
    #在x-ui的docker里面域名证书的路径为/acme.sh/
更新至最新版本
 cd 3x-ui
 docker compose down
 docker compose pull 3x-ui
 docker compose up -d
从Docker中删除3x-ui
 docker stop 3x-ui
 docker rm 3x-ui
 cd --
 rm -r 3x-ui
bash <(curl -Ls https://raw.githubusercontent.com/aircross/3x-ui/master/install.sh)
Install Custom Version
To install your desired version, add the version to the end of the installation command. e.g., ver v2.4.2:
bash <(curl -Ls https://raw.githubusercontent.com/mhsanaei/3x-ui/master/install.sh) v2.4.2
SSL 认证
点击查看 SSL 认证
Cloudflare
管理脚本具有用于 Cloudflare 的内置 SSL 证书应用程序。若要使用此脚本申请证书,需要满足以下条件:
- Cloudflare 邮箱地址
- Cloudflare Global API Key
- 域名已通过 cloudflare 解析到当前服务器
1: 在终端中运行x-ui, 选择 Cloudflare SSL Certificate.
ACME
使用ACME管理SSL证书:
-
确保你的域名已经正确解析到服务器.
-
在终端中运行
x-ui命令, 然后选择SSL Certificate Management. -
你会看到一下选项:
- Get SSL: Obtain SSL certificates.
- Revoke: Revoke existing SSL certificates.
- Force Renew: Force renewal of SSL certificates.
Certbot
apt-get install certbot -y
certbot certonly --standalone --agree-tos --register-unsafely-without-email -d yourdomain.com
certbot renew --dry-run
Tip: 管理脚本具有 Certbot 。使用 x-ui 命令, 选择 SSL Certificate Management.
手动安装 & 升级
点击查看 手动安装 & 升级
使用
- 若要将最新版本的压缩包直接下载到服务器,请运行以下命令:
ARCH=$(uname -m)
case "${ARCH}" in
  x86_64 | x64 | amd64) XUI_ARCH="amd64" ;;
  i*86 | x86) XUI_ARCH="386" ;;
  armv8* | armv8 | arm64 | aarch64) XUI_ARCH="arm64" ;;
  armv7* | armv7) XUI_ARCH="armv7" ;;
  armv6* | armv6) XUI_ARCH="armv6" ;;
  armv5* | armv5) XUI_ARCH="armv5" ;;
  *) XUI_ARCH="amd64" ;;
esac


wget https://github.com/aircross/3x-ui/releases/latest/download/x-ui-linux-${XUI_ARCH}.tar.gz
- 下载压缩包后,执行以下命令安装或升级 3x-ui:
ARCH=$(uname -m)
case "${ARCH}" in
  x86_64 | x64 | amd64) XUI_ARCH="amd64" ;;
  i*86 | x86) XUI_ARCH="386" ;;
  armv8* | armv8 | arm64 | aarch64) XUI_ARCH="arm64" ;;
  armv7* | armv7) XUI_ARCH="armv7" ;;
  armv6* | armv6) XUI_ARCH="armv6" ;;
  armv5* | armv5) XUI_ARCH="armv5" ;;
  *) XUI_ARCH="amd64" ;;
esac

cd /root/
rm -rf x-ui/ /usr/local/x-ui/ /usr/bin/x-ui
tar zxvf x-ui-linux-${XUI_ARCH}.tar.gz
chmod +x x-ui/x-ui x-ui/bin/xray-linux-* x-ui/x-ui.sh
cp x-ui/x-ui.sh /usr/bin/x-ui
cp -f x-ui/x-ui.service /etc/systemd/system/
mv x-ui/ /usr/local/
systemctl daemon-reload
systemctl enable x-ui
systemctl restart x-ui
推荐客户端
| 软件名称 | 平台 | 收费/免费 | 下载地址 |
|---|---|---|---|
| v2rayNG | Adnroid | 免费 | 下载地址 |
| NekoBox | Adnroid | 免费 | 下载地址 注意:Google Play 版本自 2024 年 5 月起已被第三方控制,为非开源版本,请不要下载。 |
| Clash for Android | Adnroid | 免费 | 下载地址 |
| OneClick | iOS | 免费 | Apple Store |
| Leaf | iOS | 免费 | Apple Store |
| Shadowrocket | iOS | 收费 | Apple Store |
| pepi | iOS | 收费 | Apple Store |
| i2Ray | iOS | 收费 | Apple Store |
| Kitsunebi | iOS | 收费 | Apple Store |
| Quantumult | iOS | 收费 | Apple Store |
| Clash Verge Rev | Windows | 免费 | 下载地址 |
| v2rayN | Windows | 免费 | 下载地址 |
| NekoRay / NekoBox For PC | Windows | 免费 | 下载地址 |
| Clash for Windows | Windows | 免费 | 下载地址 |
| clashN | Windows | 免费 | 下载地址 |
| Netch | Windows | 免费 | 下载地址 |
| Qv2ray | Windows | 免费 | 下载地址 |
| NekoRay | Linux | 未知 | 未知 |
| Clash Verge | Linux | 未知 | 未知 |
| Qv2ray | Linux | 未知 | 未知 |
| V2rayA | Linux | 未知 | 未知 |
| ClashX Pro | MacOS | 未知 | 未知 |
| Qv2ray | MacOS | 未知 | 未知 |
| V2rayX | MacOS | 未知 | 未知 |
| V2rayU | MacOS | 未知 | 未知 |
推荐服务器
如果你觉得本项目对你有用,而且你也恰巧有这方面的需求,你也可以选择通过我的购买链接赞助我
建议使用的操作系统
- Ubuntu 20.04+
- Debian 11+
- CentOS 8+
- Fedora 36+
- Arch Linux
- Manjaro
- Armbian
- AlmaLinux 9+
- Rockylinux 9+
- OpenSUSE Tubleweed
- Amazon Linux 2023
支持的架构和设备
点击查看 支持的架构和设备
我们的平台提供与各种架构和设备的兼容性,确保在各种计算环境中的灵活性。以下是我们支持的关键架构:
-
amd64: 这种流行的架构是个人计算机和服务器的标准,可以无缝地适应大多数现代操作系统。
-
x86 / i386: 这种架构在台式机和笔记本电脑中被广泛采用,得到了众多操作系统和应用程序的广泛支持,包括但不限于 Windows、macOS 和 Linux 系统。
-
armv8 / arm64 / aarch64: 这种架构专为智能手机和平板电脑等当代移动和嵌入式设备量身定制,以 Raspberry Pi 4、Raspberry Pi 3、Raspberry Pi Zero 2/Zero 2 W、Orange Pi 3 LTS 等设备为例。
-
armv7 / arm / arm32: 作为较旧的移动和嵌入式设备的架构,它仍然广泛用于Orange Pi Zero LTS、Orange Pi PC Plus、Raspberry Pi 2等设备。
-
armv6 / arm / arm32: 这种架构面向非常老旧的嵌入式设备,虽然不太普遍,但仍在使用中。Raspberry Pi 1、Raspberry Pi Zero/Zero W 等设备都依赖于这种架构。
-
armv5 / arm / arm32: 它是一种主要与早期嵌入式系统相关的旧架构,目前不太常见,但仍可能出现在早期 Raspberry Pi 版本和一些旧智能手机等传统设备中。
Languages
- English(英语)
- Farsi(伊朗语)
- Chinese(中文)
- Russian(俄语)
- Vietnamese(越南语)
- Spanish(西班牙语)
- Indonesian (印度尼西亚语)
- Ukrainian(乌克兰语)
- Turkish(土耳其语)
Features
- 系统状态监控
- 在所有入站和客户端中搜索
- 深色/浅色主题
- 支持多用户和多协议
- 支持多种协议,包括 VMess、VLESS、Trojan、Shadowsocks、Dokodemo-door、Socks、HTTP、wireguard
- 支持 XTLS 原生协议,包括 RPRX-Direct、Vision、REALITY
- 流量统计、流量限制、过期时间限制
- 可自定义的 Xray配置模板
- 支持HTTPS访问面板(自建域名+SSL证书)
- 支持一键式SSL证书申请和自动续费
- 更多高级配置项目请参考面板
- 修复了 API 路由(用户设置将使用 API 创建)
- 支持通过面板中提供的不同项目更改配置。
- 支持从面板导出/导入数据库
默认设置
点击查看 默认设置
信息
- 端口: 2053
- 用户名 & 密码: 当您跳过设置时,此项会随机生成。
- 数据库路径:
- /etc/x-ui/x-ui.db
- Xray 配置路径:
- /usr/local/x-ui/bin/config.json
- 面板链接(无SSL):
- 面板链接(有SSL):
WARP 配置
点击查看 WARP 配置
使用
如果要在 v2.1.0 之前使用 WARP 路由,请按照以下步骤操作:
1. 在 SOCKS Proxy Mode 模式中安装Wrap
bash <(curl -sSL https://raw.githubusercontent.com/hamid-gh98/x-ui-scripts/main/install_warp_proxy.sh)
2. 如果您已经安装了 warp,您可以使用以下命令卸载:
warp u
3. 在面板中打开您需要的配置
配置:
- Block Ads
- Route Google + Netflix + Spotify + OpenAI (ChatGPT) to WARP
- Fix Google 403 error
IP 限制
点击查看 IP 限制
使用
注意: 使用 IP 隧道时,IP 限制无法正常工作。
-
适用于最高
v1.6.1:- IP 限制 已被集成在面板中。
-
适用于
v1.7.0以及更新的版本:-
要使 IP 限制正常工作,您需要按照以下步骤安装 fail2ban 及其所需的文件:
- 使用面板内置的
x-ui指令 - 选择
IP Limit Management. - 根据您的需要选择合适的选项。
- 使用面板内置的
-
确保您的 Xray 配置上有 ./access.log 。在 v2.1.3 之后,我们有一个选项。
"log": { "access": "./access.log", "dnsLog": false, "loglevel": "warning" }, -
Telegram 机器人
点击查看 Telegram 机器人
使用
Web 面板通过 Telegram Bot 支持每日流量、面板登录、数据库备份、系统状态、客户端信息等通知和功能。要使用机器人,您需要在面板中设置机器人相关参数,包括:
- 电报令牌
- 管理员聊天 ID
- 通知时间(cron 语法)
- 到期日期通知
- 流量上限通知
- 数据库备份
- CPU 负载通知
参考:
30 \* \* \* \* \*- 在每个点的 30 秒处通知0 \*/10 \* \* \* \*- 每 10 分钟的第一秒通知@hourly- 每小时通知@daily- 每天通知 (00:00)@weekly- 每周通知@every 8h- 每8小时通知
Telegram Bot 功能
- 定期报告
- 登录通知
- CPU 阈值通知
- 提前报告的过期时间和流量阈值
- 如果将客户的电报用户名添加到用户的配置中,则支持客户端报告菜单
- 支持使用UUID(VMESS/VLESS)或密码(TROJAN)搜索报文流量报告 - 匿名
- 基于菜单的机器人
- 通过电子邮件搜索客户端(仅限管理员)
- 检查所有入库
- 检查服务器状态
- 检查耗尽的用户
- 根据请求和定期报告接收备份
- 多语言机器人
注册 Telegram bot
-
与 Botfather 对话:

-
使用 /newbot 创建新机器人:你需要提供机器人名称以及用户名,注意名称中末尾要包含“bot”

-
启动您刚刚创建的机器人。可以在此处找到机器人的链接。

-
输入您的面板并配置 Telegram 机器人设置,如下所示:

在输入字段编号 3 中输入机器人令牌。 在输入字段编号 4 中输入用户 ID。具有此 id 的 Telegram 帐户将是机器人管理员。 (您可以输入多个,只需将它们用“ ,”分开即可)
- 如何获取TG ID? 使用 bot, 启动机器人,它会给你 Telegram 用户 ID。

API 路由
点击查看 API 路由
使用
/login使用POST用户名称 & 密码:{username: '', password: ''}登录/panel/api/inbounds以下操作的基础:
| Method | Path | Action |
|---|---|---|
GET | "/list" | Get all inbounds |
GET | "/get/:id" | Get inbound with inbound.id |
GET | "/getClientTraffics/:email" | Get Client Traffics with email |
GET | "/getClientTrafficsById/:id" | Get client's traffic By ID |
GET | "/createbackup" | Telegram bot sends backup to admins |
POST | "/add" | Add inbound |
POST | "/del/:id" | Delete Inbound |
POST | "/update/:id" | Update Inbound |
POST | "/clientIps/:email" | Client Ip address |
POST | "/clearClientIps/:email" | Clear Client Ip address |
POST | "/addClient" | Add Client to inbound |
POST | "/:id/delClient/:clientId" | Delete Client by clientId* |
POST | "/updateClient/:clientId" | Update Client by clientId* |
POST | "/:id/resetClientTraffic/:email" | Reset Client's Traffic |
POST | "/resetAllTraffics" | Reset traffics of all inbounds |
POST | "/resetAllClientTraffics/:id" | Reset traffics of all clients in an inbound |
POST | "/delDepletedClients/:id" | Delete inbound depleted clients (-1: all) |
POST | "/onlines" | Get Online users ( list of emails ) |
*- clientId 项应该使用下列数据
-
client.idVMESS and VLESS -
client.passwordTROJAN -
client.emailShadowsocks -

环境变量
点击查看 环境变量
Usage
| 变量 | Type | 默认 |
|---|---|---|
| XUI_LOG_LEVEL | "debug" | "info" | "warn" | "error" | "info" |
| XUI_DEBUG | boolean | false |
| XUI_BIN_FOLDER | string | "bin" |
| XUI_DB_FOLDER | string | "/etc/x-ui" |
| XUI_LOG_FOLDER | string | "/var/log" |
例子:
XUI_BIN_FOLDER="bin" XUI_DB_FOLDER="/etc/x-ui" go build main.go
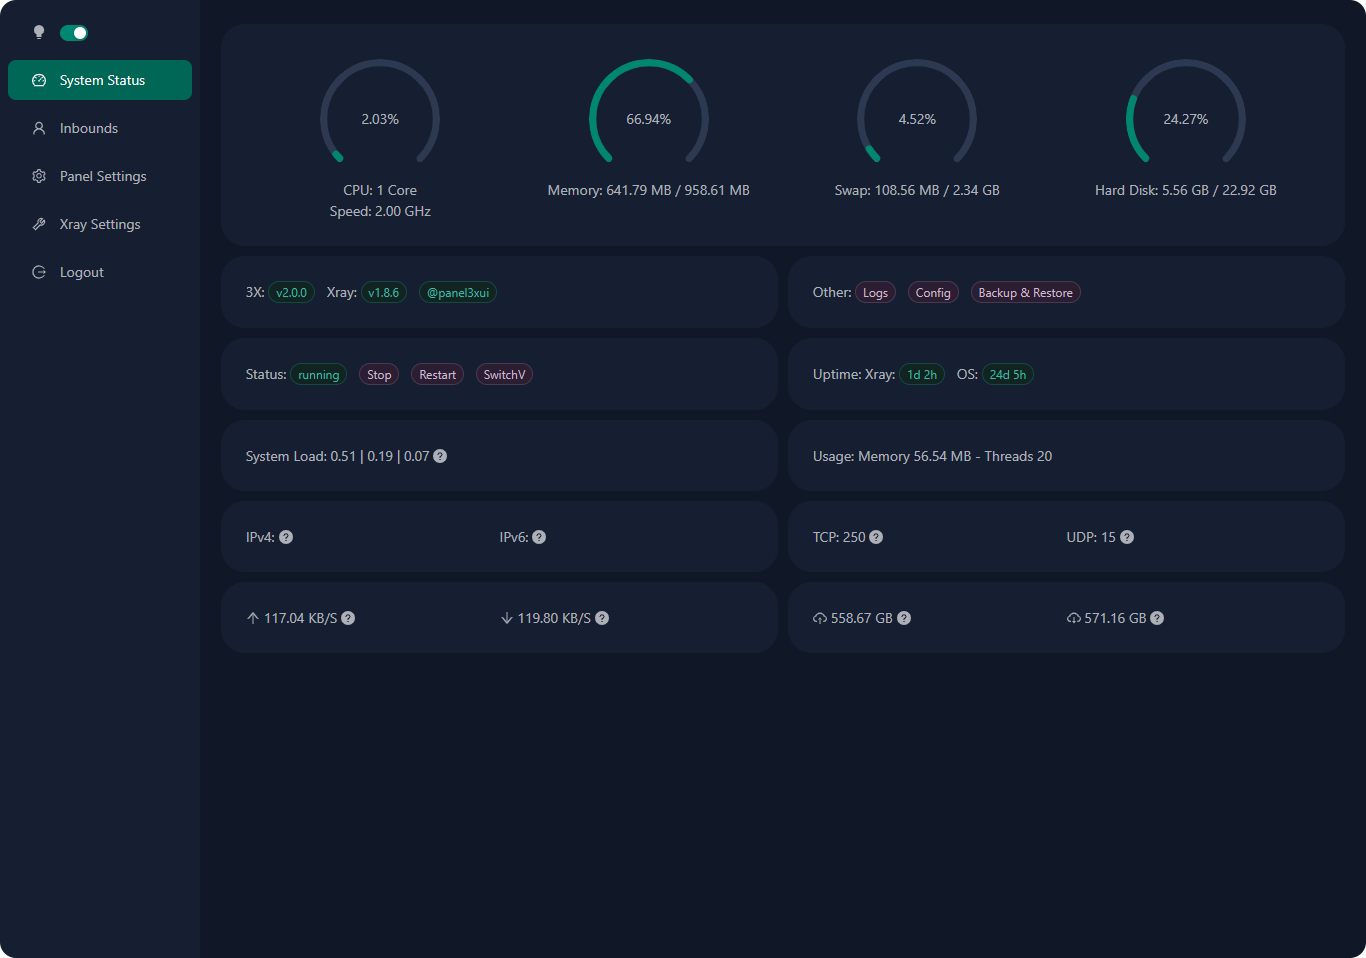
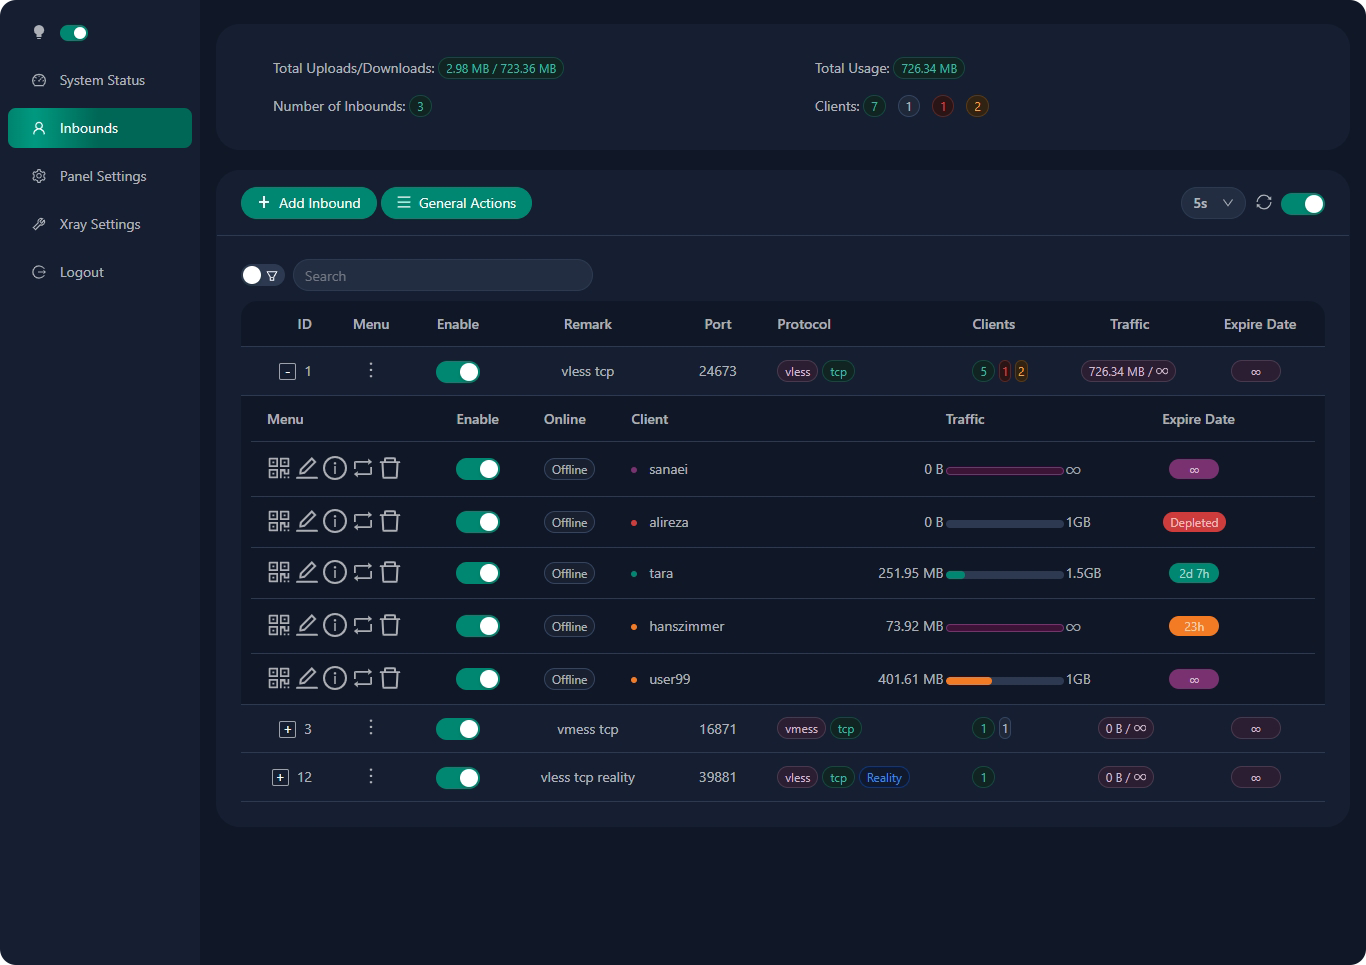
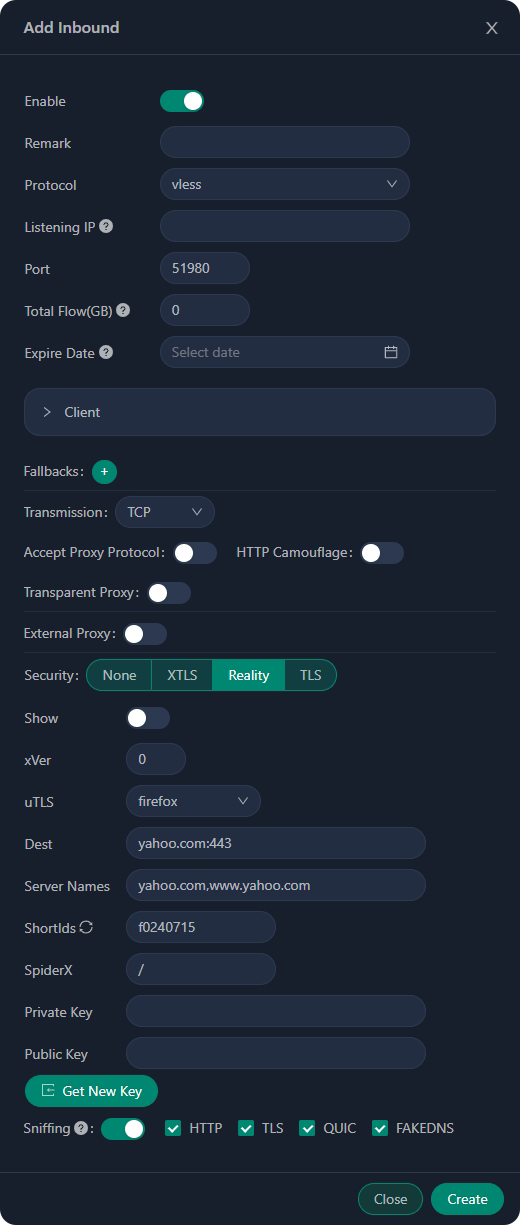
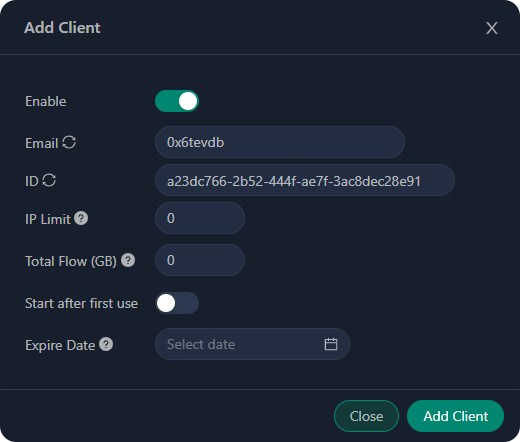
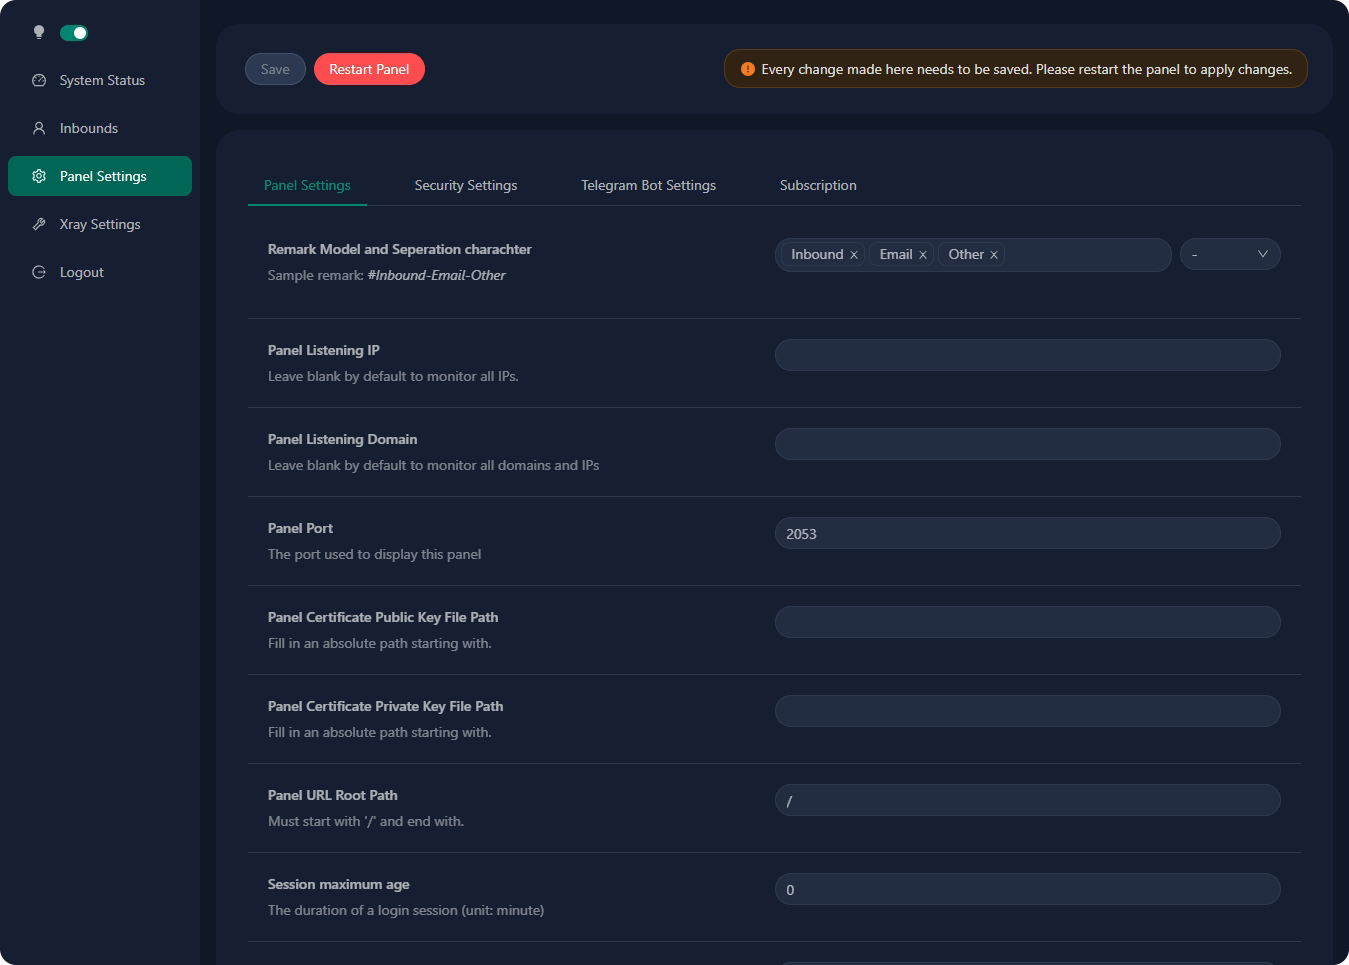
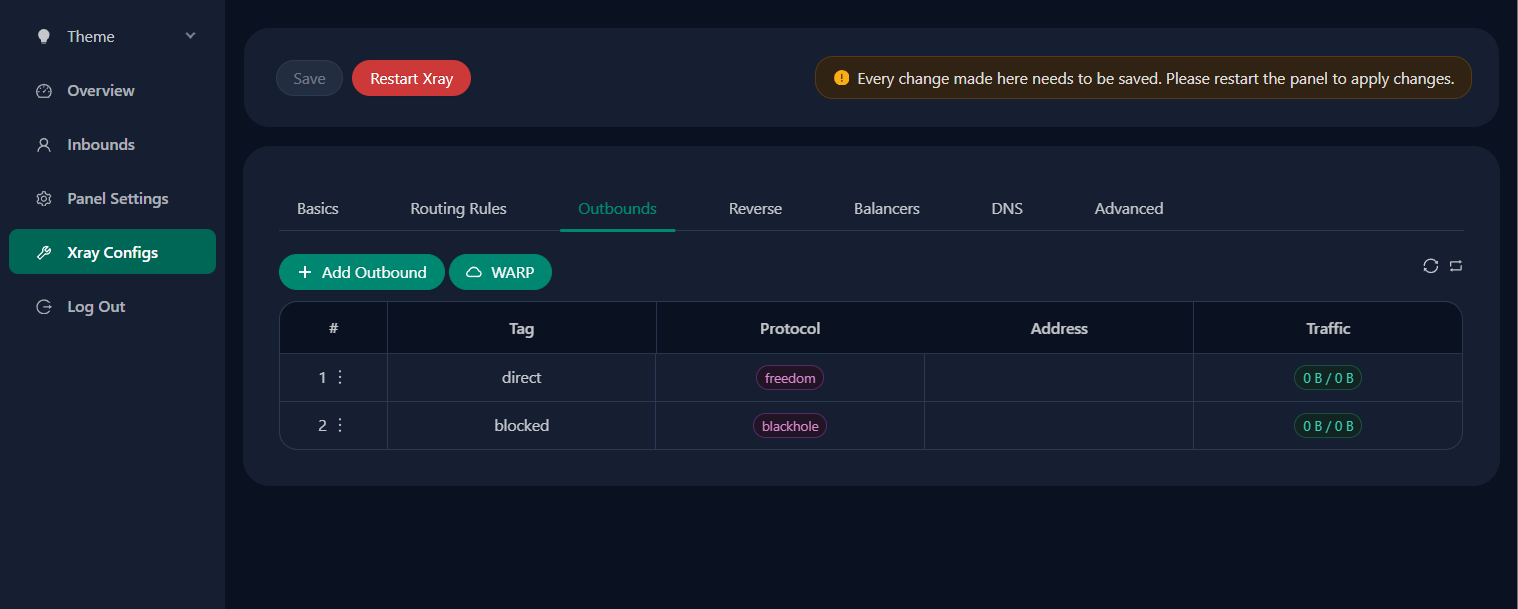
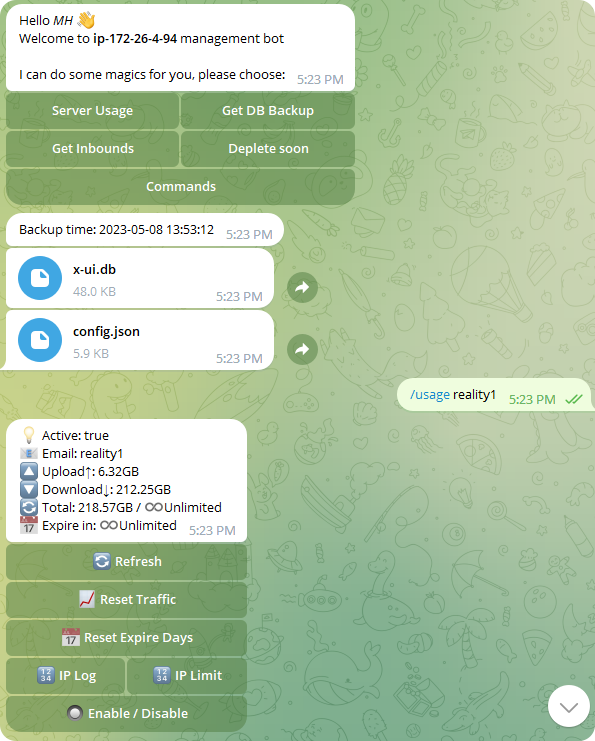
预览
特别感谢
致谢
- Iran v2ray rules (License: GPL-3.0): Enhanced v2ray/xray and v2ray/xray-clients routing rules with built-in Iranian domains and a focus on security and adblocking.
- Vietnam Adblock rules (License: GPL-3.0): A hosted domain hosted in Vietnam and blocklist with the most efficiency for Vietnamese.
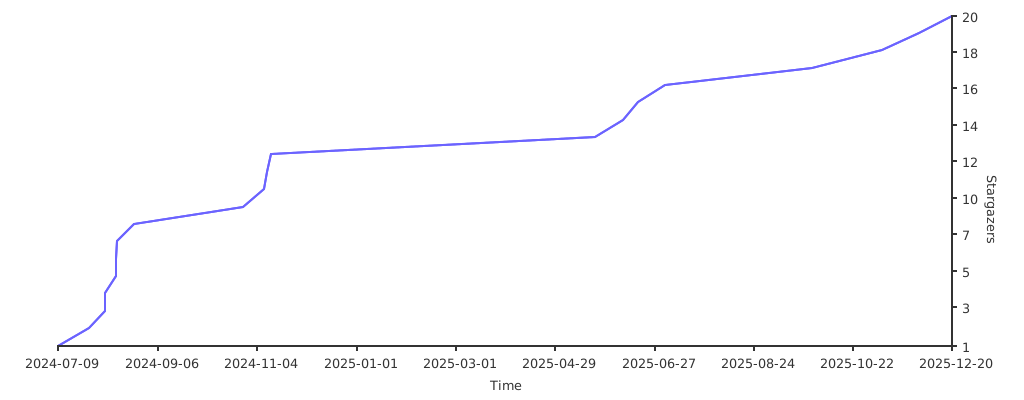
Star趋势
Tag summary
Content type
Image
Digest
sha256:e37776894…
Size
71.5 MB
Last updated
almost 2 years ago
docker pull aircross/3x-ui